Using Your GoDaddy Domain On AWS
Stake your claim
Buying a domain name is like putting a stake in the ground. I feel like some sort of Lewis and Clark, or maybe even Neil Armstrong — except instead of an unknown land or galaxy far far away it's a DNS server somewhere in the middle of Ohio.
In this article I will show you how to purchase your domain name from GoDaddy and use it for your next project on Amazon Web Services, whether or not you actually ever get around to building it is up to you!

Prerequisites and Scope
This article assumes that you have a website already setup with AWS CloudFront. We will walk through step by step how to add a custom GoDaddy domain and SSL certificate to your CloudFront hosted site.
Purchasing your domain name
Head over to godaddy.com and enter a search term for the domain you are interested in, then choose one that looks good! I chose ketl.club for my project, and got away with it for just $0.99 for the first year — I'll let Amazon pay $19.99 for the second year after they acquire me!
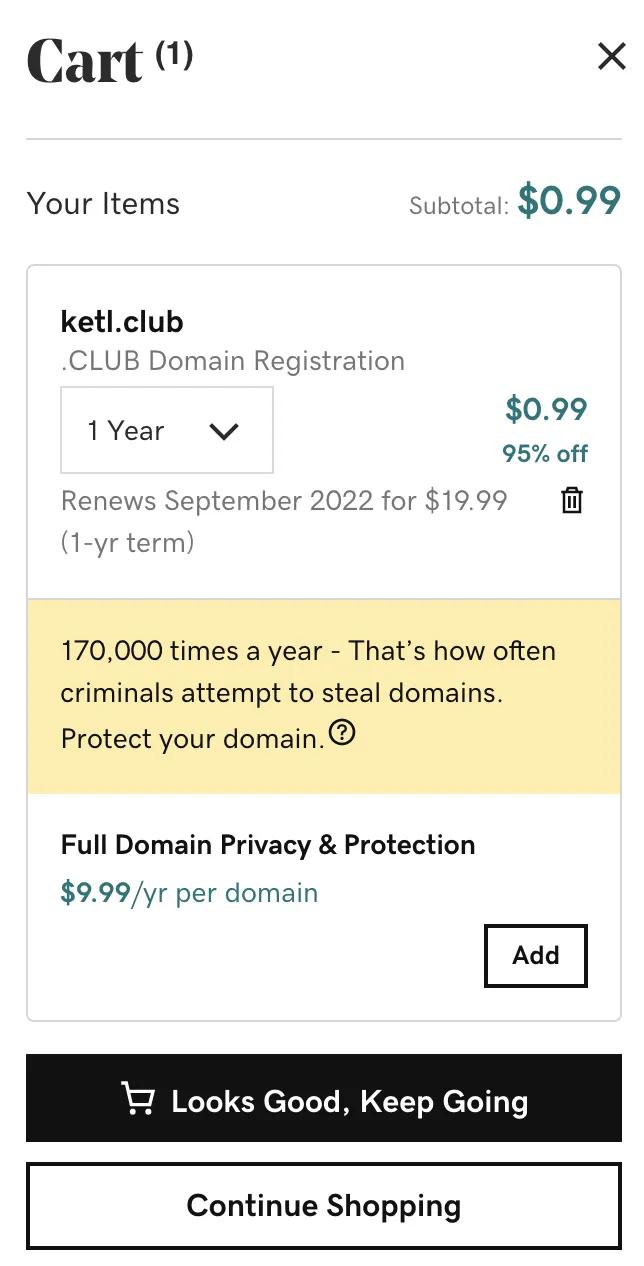
GoDaddy will give you some additional options about adding security features or getting help starting your website; choose what's best for you then enter your payment information and finish checking out.
If you have already deployed your static site via CloudFront and want a quick and easy way to get started you can setup a forwarding rule. Head over to manage DNS in GoDaddy and scroll down to the forwarding section and put in your CloudFront URL.
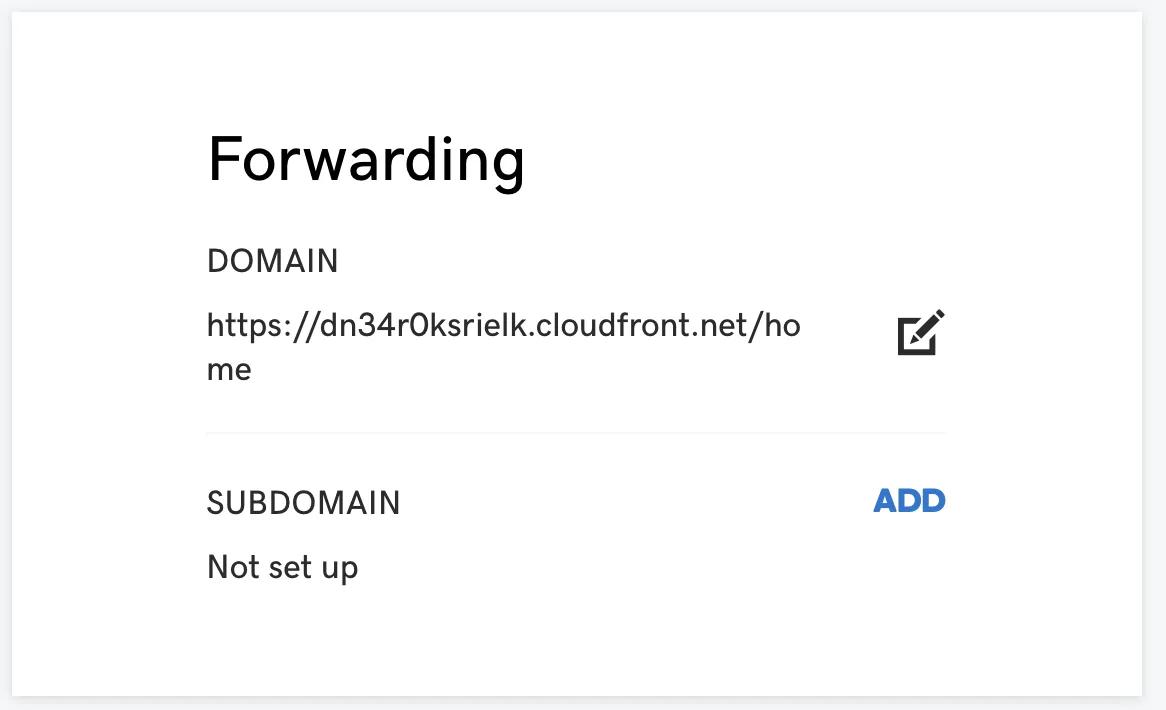
After a few minutes everyone who navigates to ketl.club will be redirected to my CloudFront distribution at https://dn34r0ksrielk.cloudfront.net. If you're satisfied, then you're done! If you would like to setup your domain name without having to deal with forwarding then read on; we are going to cover this next. If you do plan on moving forward you can go ahead and delete the forwarding rule we just created.
Setting up your GoDaddy domain name with AWS
There is a great AWS document on adding a custom domain managed by GoDaddy which I highly recommend following. I'll summarize the important steps below.
- Go to the domain in your GoDaddy account and select "Manage my domain"
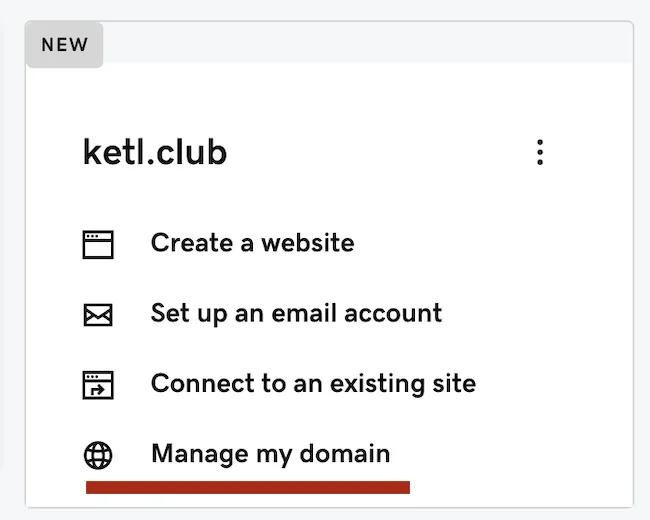
- Scroll down to Additional Settings and select "Manage DNS"

- Click "Add" then "CNAME" and enter "www" as your Host value and your CloudFront domain as the value for "Points to". If there is already a "www" value, then you can edit the "Points to" value — creating a new one could give you an error message.

Now we just need to add an SSL certificate!
Creating your SSL certificate through AWS
Creating public SSL certificates through AWS Certificate Manager are free, which makes it a great option!
- Log into your AWS account and go to Certificate Manager → Provision certificates → Request a public certificate
- Enter
*.your_domain
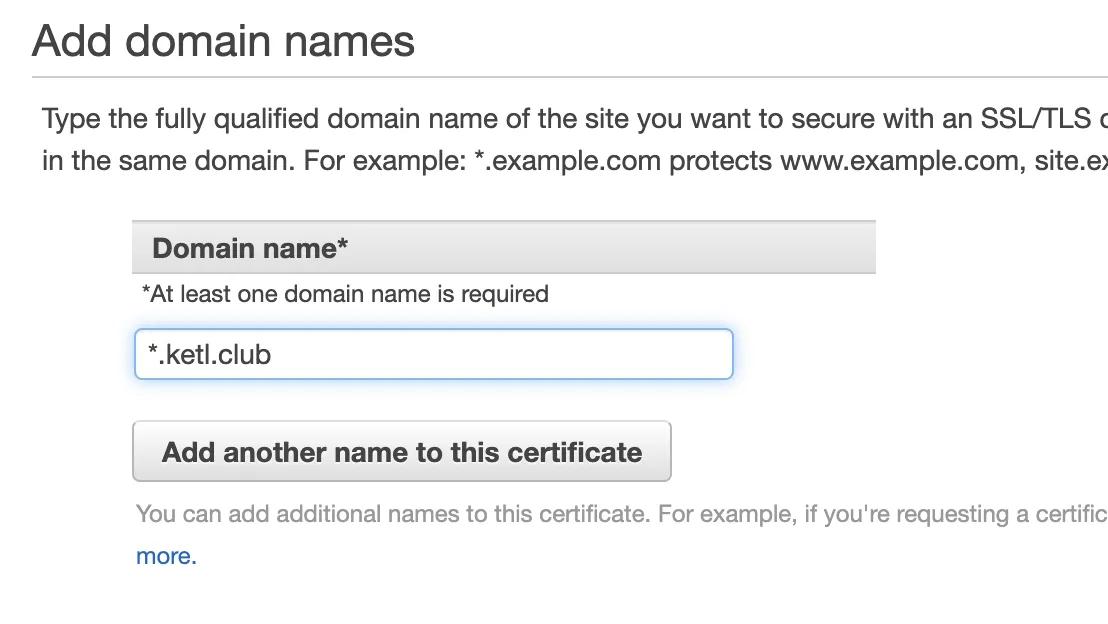
- Select DNS validation as your validation method
- Confirm request
- You will then see the validation status as "pending validation" as well as a CNAME record to add to your domain in GoDaddy.
- Head over to your GoDaddy console, find your domain name, and select "Manage DNS"
- Add a CNAME with the information in the ACM console and click "save"
- Once the certificate status changes to "issued" head over to the CloudFront console
- Select your CloudFront distribution
- In "General" select "Edit"
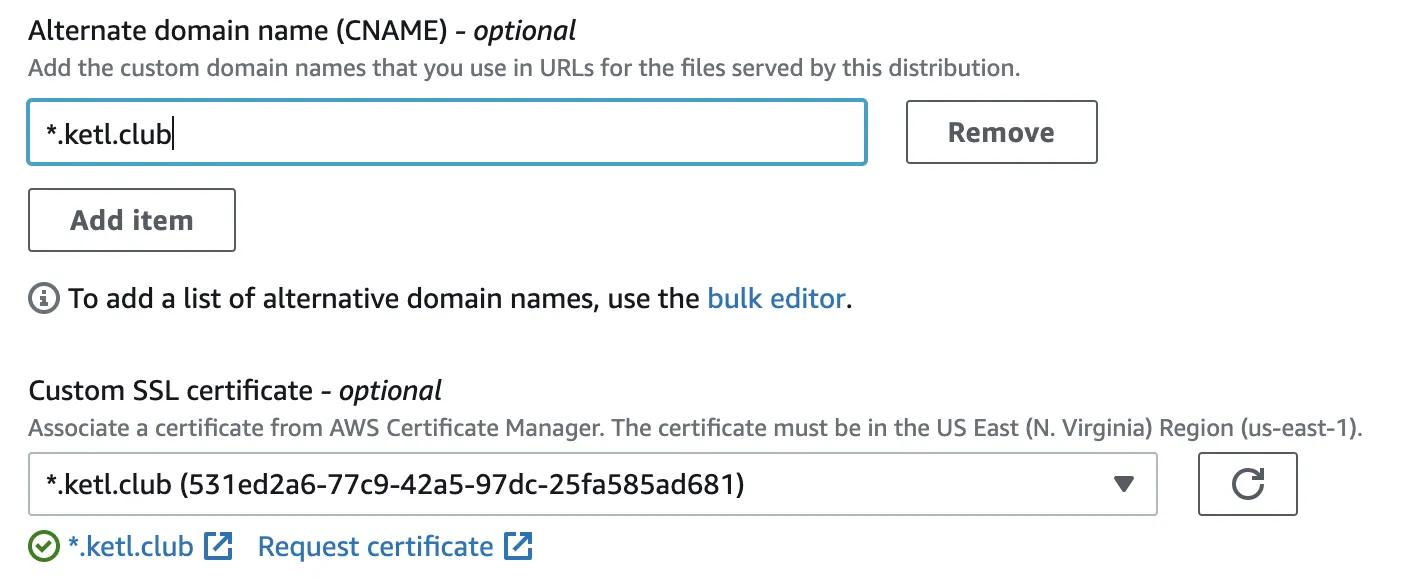
- Add the domain name you entered for your certificate in the "Additional domain name (CNAME)" section
- Select the certificate you just generated in the "custom SSL certificate" section and save changes
Adding HTTPS Forwarding
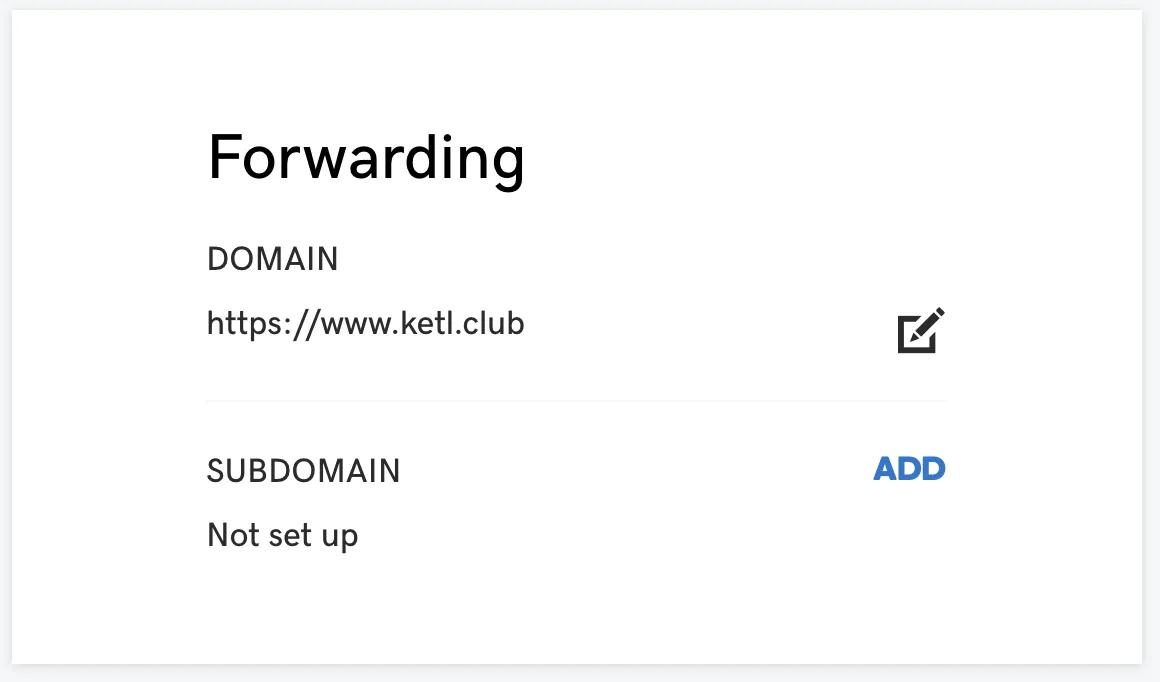
Now that we have the domain and SSL certificate we can navigate to our site by visiting www.[ketl.club](http://ketl.club). Usually people don't type the "www" part of the address, so we can setup a forwarding rule to forward users who navigate to ketl.club to https://www.ketl.club.
- Go to your GoDaddy console
- Select "Manage DNS" on your domain name
- Scroll to the bottom until you see the "Forwarding" section
- Select "https://" and enter your domain "www.your_domain"
You're done! Now you have one less excuse; go put that domain name you bought to good use! I'll gladly take 1% equity from all the business that get started using this guide.